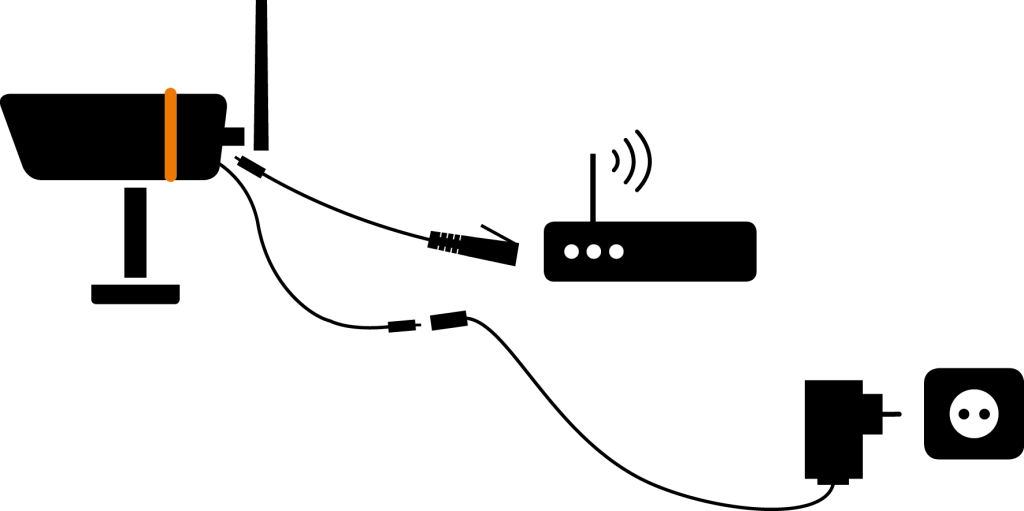
The camera can be angled in different positions depending on where it is being mounted. Loosen and/or move the adjustment screw until desired angle is achieved. It can be mounted anywhere where there is access to a power source within a 2,8 m distance. If this is not feasible, an extension cable must be used (not included).
When installing the camera, especially trying out the correct positioning of the camera, we recommended getting help from a second person. One person holds the camera in place and the other views the app until the correct angle is achieved.
The antenna should as a start be pointing perpendicular to the router.
-
When installing the camera(s), always follow the manufacturer's advice when using power tools, steps, ladders, etc. and wear suitable protective equipment (e.g. safety goggles) when drilling holes. Before drilling holes through walls, check for hidden electricity cables and water pipes. The use of cable/pipe detector is advisable.
-
It is also advisable to avoid exposing any cameras to extreme weather conditions (e.g., under a gutter which is prone to any water leaks). When installing any cameras with this unit, it is advisable to use cable conduit to protect any video/power extension cables from being exposed externally and to prevent/reduce the chances of the cables being tampered with. After drilling any hole through an external wall for a cable, ensure the hole is sealed up around the cable using a sealant to prevent drafts.
-
To prevent a fire or electrical shock hazard, do not attempt to open the housing while the unit is exposed to rain, water or wet conditions. There are no user serviceable parts inside. Refer servicing to qualified service personnel.
-
Avoid pointing the camera(s) directly at the sun or any bushes, tree branches or moving objects that might unnecessarily cause the camera to record.
If you run into problems with the installation, go to the troubleshooting section. If this does not help you, please contact your local dealer or submit a support ticket.

